Steering Fab.
 Sprocket Gear Ratios
 Accelerator Linkage
Drive Unit
 The Drive unit that will power this cart will probably be the most challenging because I am planning to use a fairly unconventional hydraulic drive system. I had considered using electric motor with battery power pack as well as the usual centrifugal friction clutch. I will go into more detail later for those interested. Now an update on the practice form for the miniature hood.
In order to stiffen up the form for the trial fiberglass hood I had to add some additional panels of foam to the bottom of the frame. You will notice how I used a flat solid piece of foam on the top to see if it would conform to the slight contour of the hood. Since there is very little to hold it in place it began to slowly come apart at the ends. In the next photo you can see where The foam was split cross ways which allowed the foam to hold the contour. The only problem with this is that it leaves small cracks that will most likely need to be filled in order not to show up once the fiberglass is applied. Don't tell Brenda but I went to the knife drawer to steel a good carving knife. I tried to use one of my fish fillet knives first but a serrated blade works much better for slicing off the excess foam. You just sort of saw it off.
 You will need to be patient with this which is not one of my strong virtues. Don't try to remove too much at one time. There is also something that I did not notice until I was almost finished gluing the foam together. On this insulation there is a very thin layer of what appears to be Mylar on the surface of the foam. It is easy to strip it off which is what I suggest doing before gluing the pieces together. Even though it is very thin it plays serious havoc with cutting as well as finish sanding the foam.
 I will update you on the progress of this model. The next step is to sand it smooth and prepare the surface for application of the fiberglass.

 You will notice how I used a flat solid piece of foam on the top to see if it would conform to the slight contour of the hood. Since there is very little to hold it in place it began to slowly come apart at the ends. In the next photo you can see where The foam was split cross ways which allowed the foam to hold the contour. The only problem with this is that it leaves small cracks that will most likely need to be filled in order not to show up once the fiberglass is applied. Don't tell Brenda but I went to the knife drawer to steel a good carving knife. I tried to use one of my fish fillet knives first but a serrated blade works much better for slicing off the excess foam. You just sort of saw it off.
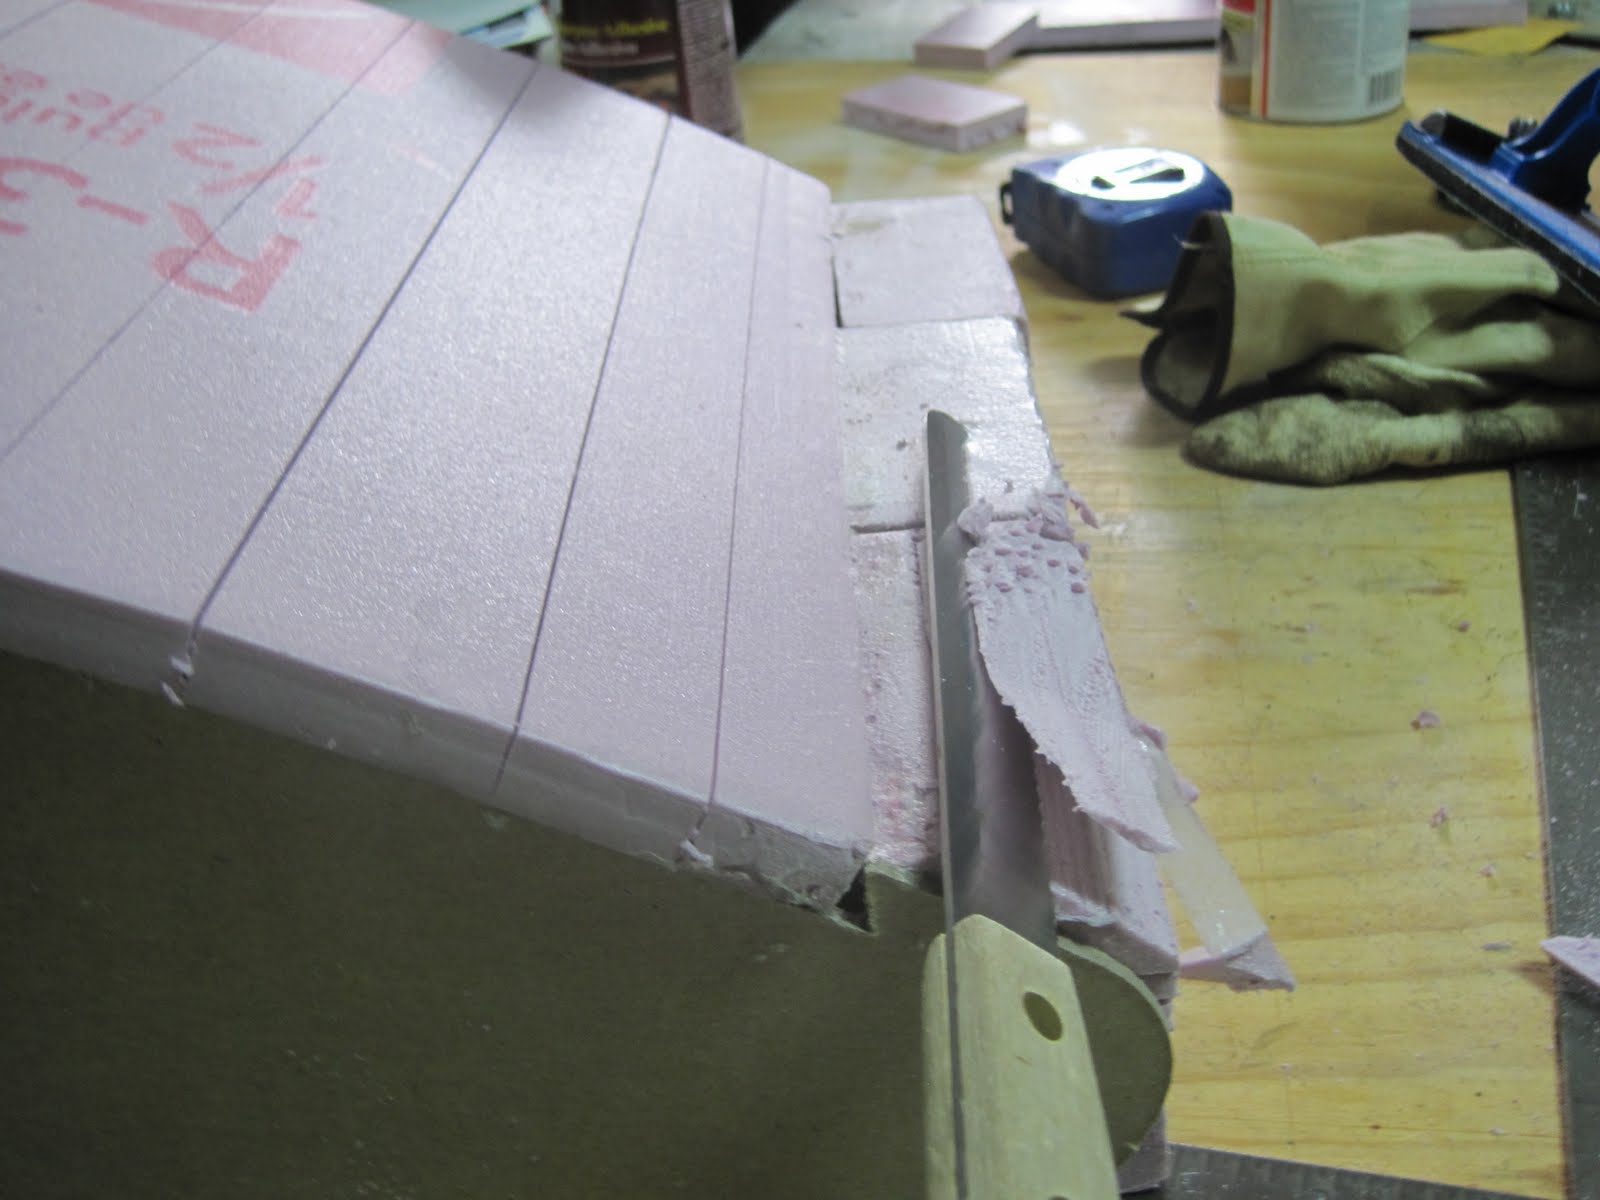 You will need to be patient with this which is not one of my strong virtues. Don't try to remove too much at one time. There is also something that I did not notice until I was almost finished gluing the foam together. On this insulation there is a very thin layer of what appears to be Mylar on the surface of the foam. It is easy to strip it off which is what I suggest doing before gluing the pieces together. Even though it is very thin it plays serious havoc with cutting as well as finish sanding the foam.
 I will update you on the progress of this model. The next step is to sand it smooth and prepare the surface for application of the fiberglass.


No comments:
Post a Comment