
Now don't get me wrong, you can grind perfectly good contours in metal using a simple bench grinder and hand file. I do it all the time. But the following machine can make it all go a lot quicker and efficiently. It is called a Hole Saw Notcher. It's not your everyday notcher. It's a Model HSN-500 made by Pro Tools.
 It can be used as I have it set up in a vice using an ordinary hand drill or you can mount it on a drill press which is probably the preferred method. But I don't have a drill press yet so we will make do with the vice and hand drill.
 The good thing about this notcher is that it will hold the pipe firmly in place and at the correct angle.
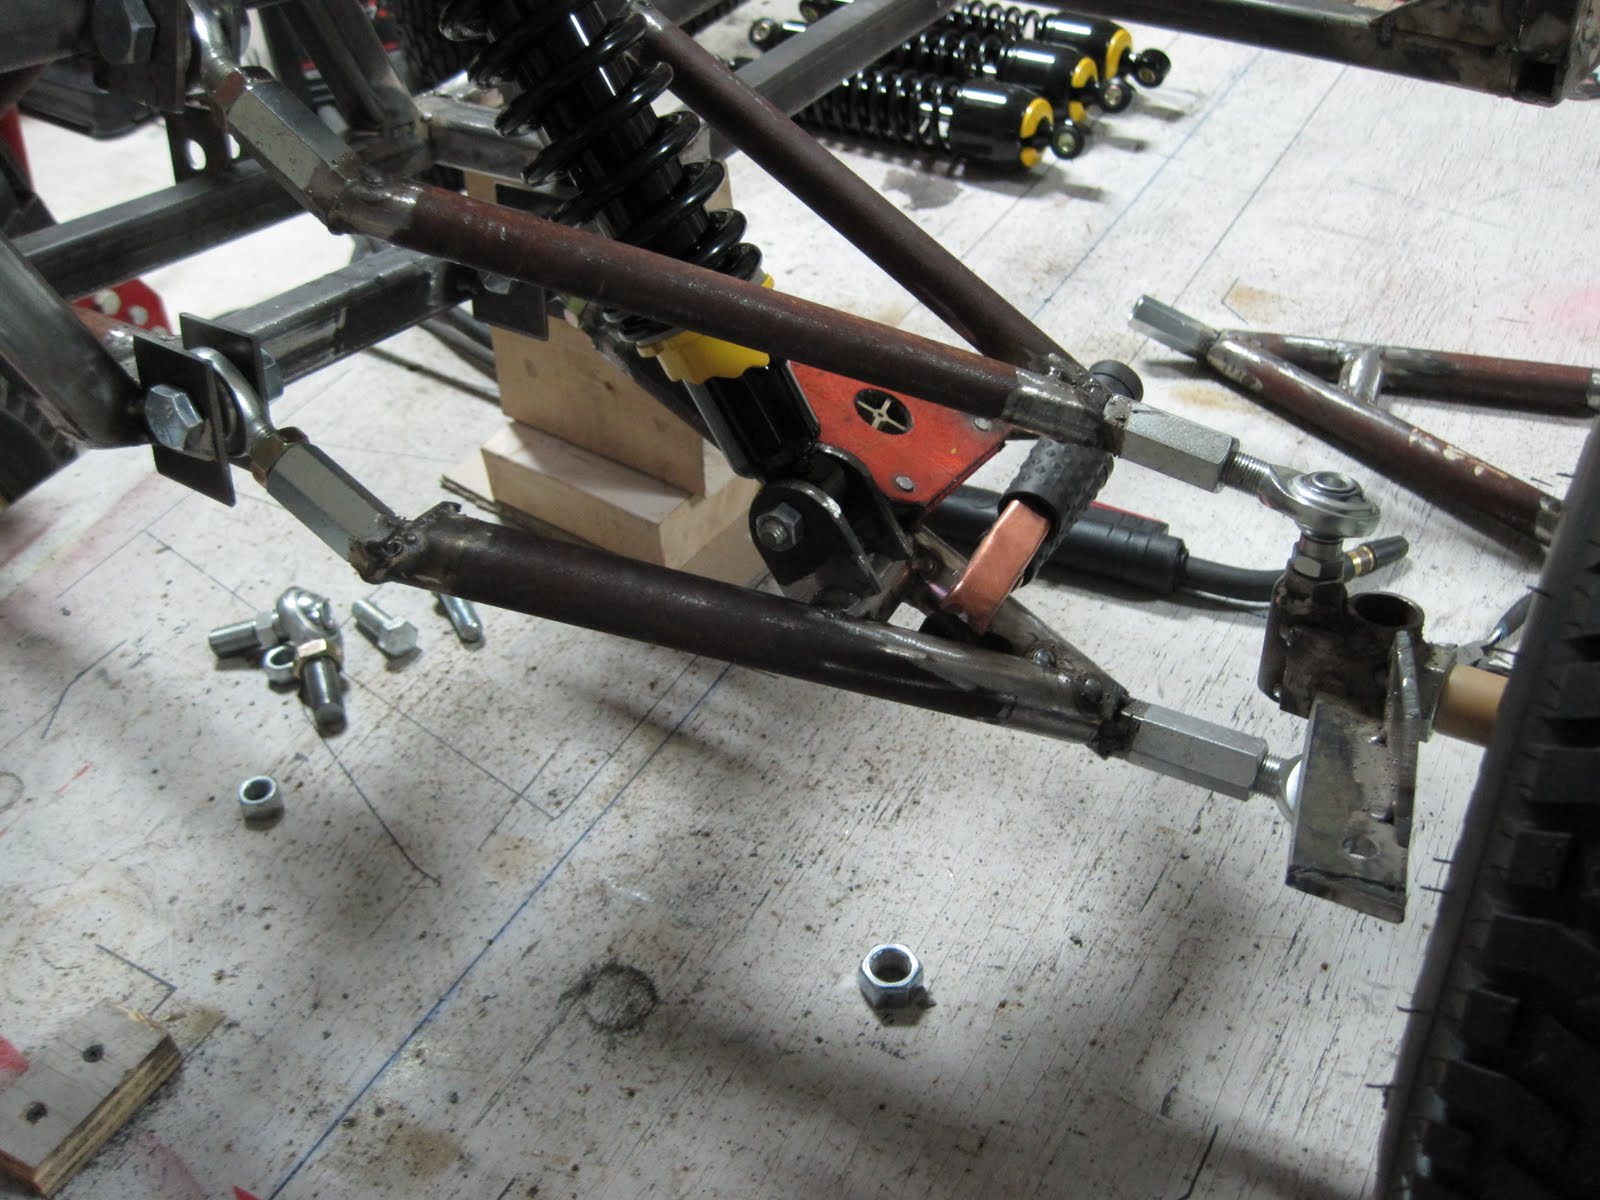
 The saw cuts a "fish mouth" contour that fits snug between the straight and angled tubes of the control arm. One cut is a 90 degree cut and the other end is an angled cut. I was not sure what the angle needed to be so I did a practice cut first and adjusted from there. The ideal way to use a hole saw is to run coolant on it while cutting. When you don't have a coolant pump set up then the next best thing is to use a spray can of some kind of lubricant like WD 40 or Trilube and give it a squirt every once in a while in order to lower heat and friction. It is a bit messy but it will greatly aid in cutting as well as extend the life of the hole saw. This is not a very good photo but at least you can see the "fish mouth" contour of the cut. ( Hey I heard you say none of the photos are very good.)
  It fits nicely between the legs of the control arms. Did I get it to fit on the first try? Not hardly.
 Now that the brace is tacked in place we can move on to the shock mounts. The shock will be held by a mount on either side of the connecting hole. It is best to drill the holes in both mounts at the same time. This way the pieces can be bolted together and any grinding work will be the same. It is not that hard to set up using a C clamp if you take a little time and drill slowly. I am using the drill press at work while it has some open time.
 The hole saw can also be used to cut a contour in a flat piece of metal. But I am going to free hand the mounts on the grinder and see how they come out. A set of C clamp vice grips is a good way to hold onto the mounts while grinding the contours on the bench grinder. I don't know if you have noticed but the parts tend to get a little too hot to handle after a little grinding even with a good pair of leather gloves.
  The mounts do not look perfect but they will be fine.
When I got the mounts home I had to grind a little more off of the corners so that the shocks could pivot freely. Just bolt them together and grind away.

I like to use the actual shock with the mounts bolted on in order to get the bottom mounts tacked in place. Great care must be taken to be sure that the rubber cushion in the shock connecting hole does not get too much heat. Just try to tack the mounts as quickly as possible and then immediately remove the shock from the mounts. Remember that at this point you are just tacking everything securely into place. There will be hours of finish welding to do later.
The bottom shock mount is completed. Now go do the same thing on the other side. Try to get the mounts on the other control arm in the same location and at the same angle. I forgot to tell you that it is a good idea to have the axle sitting at the correct ride height when you attach the mounts so they will be somewhat at the correct angle. A good way to do that is to just attach the wheel to the axle. You could also just prop it up with something. The main idea is to get both sides the same so that the front end wil be level with the earth.


No comments:
Post a Comment