
At this point in the project I am working on several things at the same time to keep things moving along. There are some fabs that cannot be completed until another component part is assembled and in place. For instance, I am not sure if the brake caliper will fit where I want it until the brake linkage is in place. The brake linkage is off set and therefore requires an extra shaft. So I have been busy working on a lot of things that need to be done before finalizing the designs of mating parts. I have been bending the side arms of the roll bar. It will be necessary to use the notcher once again for fitting the side bars to the rear roll bar for welding.

All of the drive components must be keyed to the axles. Almost everything is 1/4" key way. This can be a fight trying to get the key to fit in the component and the key way and still be able to slide in place. I found some key stock at Graingers that is undersized by two thousands of an inch. That is not much but it sure makes it a lot easier to fit everything together. Below you can see that I have cut the key to length and placed inside the universal joint.

Whoever painted this axle also painted the key way. I have already sanded the paint off of the outside of the axle so it will slide through the axle bearings.

It is also necessary to remove any paint or debris from the key way itself. A flat file works just fine. Be careful not to file the threads!!
 Finding the correct length for the key on the wheel.

 It will be necessary to use the notcher once again for fitting the side bars to the rear roll bar for welding.
All of the drive components must be keyed to the axles. Almost everything is 1/4" key way. This can be a fight trying to get the key to fit in the component and the key way and still be able to slide in place. I found some key stock at Graingers that is undersized by two thousands of an inch. That is not much but it sure makes it a lot easier to fit everything together. Below you can see that I have cut the key to length and placed inside the universal joint.

Whoever painted this axle also painted the key way. I have already sanded the paint off of the outside of the axle so it will slide through the axle bearings.

It is also necessary to remove any paint or debris from the key way itself. A flat file works just fine. Be careful not to file the threads!!
 Finding the correct length for the key on the wheel.
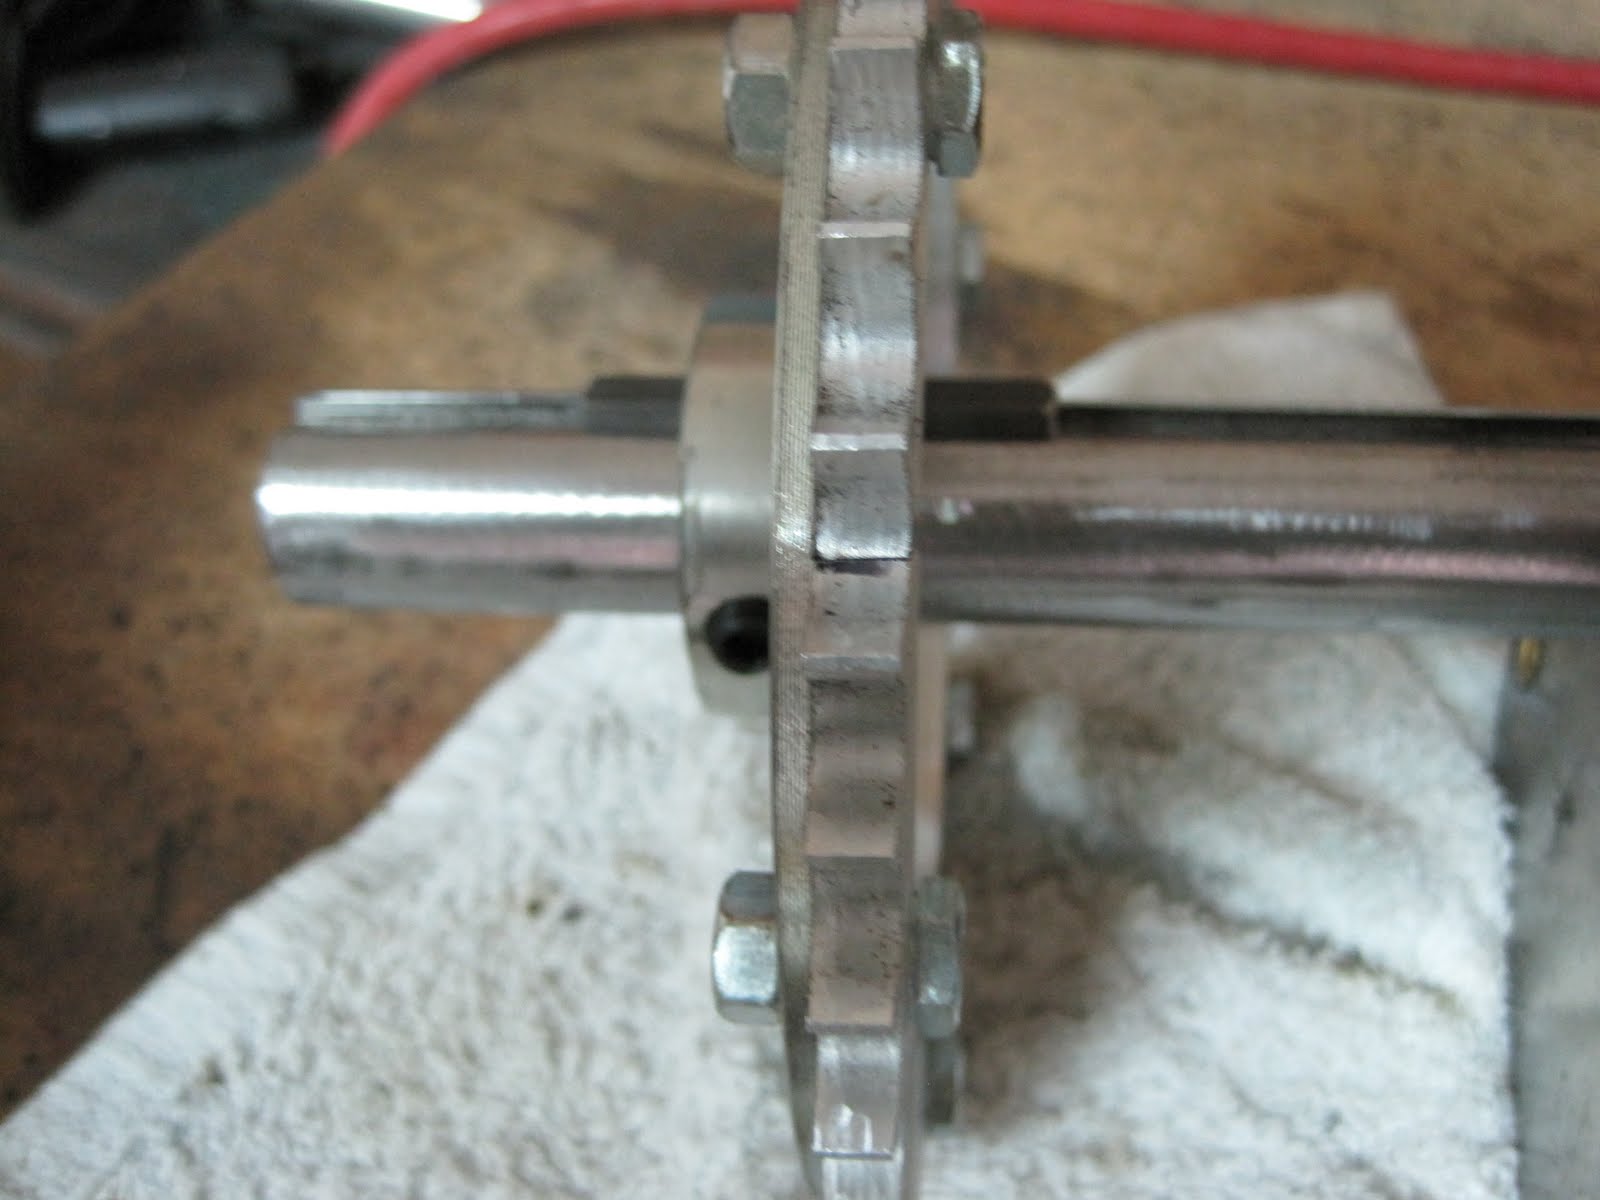
Keying the drive sprocket.
 Got these out of order.
 We will need landings for the forward legs of the roll bar. We want it to land about even with the front dash. I am using 1/4" x 1 1/2" angle iron because we want this to be good and strong. Once the roll bar is in place the frame will really begin to firm up.
 Using a plumb string to line the edge of the dash with the landings.

I want for the roll bar to be removable so we will need some landing mounts for the front landings. I have some 1" schedule 80 pipe that the 1" roll bar tube will fit inside of. This will give a little bit of wiggle room to adjust the roll bar legs before welding them into place. Then they can be drilled and bolted to the landings.
 Some of the following photos are out of sequence but they show the fab for the most important part of the cart. And what is the most important part of the cart. If you said the beverage holders you would be incorrect. That is the second most important. The most important part of course is the brake. The brake pedal is welded to a piece of 1" tubing that will pivot on a 20 mm Bolt. Why a metric bolt? That is what happens to fit snuggly inside the tubing.
The component parts ready for assembly.

 Moving along to the rear linkage of the brake I have decided to use those two extra 3/4" pillow block bearings that I have left over . This is a bit of overkill but hey, this is the brake we are talking about.

 Got these out of order.
 We will need landings for the forward legs of the roll bar. We want it to land about even with the front dash. I am using 1/4" x 1 1/2" angle iron because we want this to be good and strong. Once the roll bar is in place the frame will really begin to firm up.
 Using a plumb string to line the edge of the dash with the landings.
I want for the roll bar to be removable so we will need some landing mounts for the front landings. I have some 1" schedule 80 pipe that the 1" roll bar tube will fit inside of. This will give a little bit of wiggle room to adjust the roll bar legs before welding them into place. Then they can be drilled and bolted to the landings.
 Some of the following photos are out of sequence but they show the fab for the most important part of the cart. And what is the most important part of the cart. If you said the beverage holders you would be incorrect. That is the second most important. The most important part of course is the brake. The brake pedal is welded to a piece of 1" tubing that will pivot on a 20 mm Bolt. Why a metric bolt? That is what happens to fit snuggly inside the tubing.
The component parts ready for assembly.

 Moving along to the rear linkage of the brake I have decided to use those two extra 3/4" pillow block bearings that I have left over . This is a bit of overkill but hey, this is the brake we are talking about.


No comments:
Post a Comment